 ..I managed to acquire this rare model kit from EBay last year..it cost me almost RM120...but I really thinks it was a bargain...for a 1/20 scale model..the Jeep is huge!! very detail parts but the instructions is in Japanese!!..well..we modellers rely on pics and numbers right??...so..here it goes...Project Start Date: 7 Sept 2010.........
 As usual, pictorial references are most useful when building a model.....a little search here and there in the internet will be helpful...
 ...the parts are very well molded and made of hard plastic...I never heard of MITSUWA before...so I was surprised to find out that they produced a large scale of Willys Jeep MB that were widely used during WW2...one thing to remember when building large scale models...the details will be more obvious and more realism can be added..I will try my best for this one....
 ...notice the raised ejection marks on the parts...I scrapped it will No 11 blade and later smoothen it using sand paper...
 ...after sanding and cleaning, the ejection marks will dissappear and this will add realism to your model later..
 ...plastic cloth pegs used to keep the parts in place after glue applied...and free your hands to do anything else..
 ....I usually pre-painted the parts before attaching it..after several dry fittings to make sure it is glued correctly and make necessary adjustment...above is the underside of the jeep pre-painted with Flat Black (HUMBROL Matt 33) color..
 ..the Jeep chasis, axles and all the undercarriage parts attached...I painted Flat Black...
 .....the engine after assembly of all the accessories, I painted overall Flat Metal (Humbrol 53) color...have to wait for it to thoroughly dry, afterwards I will paint the engine part accessories seperately and attached several wires to make it look real.....
...the engine itself after I added ignition wires, solenoid wire and some hydraulic lines...afterward some blackwash to add realism...looks convincing enough.......... .....the engine picture I got from the internet used as my reference....compare this to the engine model I scratchbuild below........
 .........I used 0.6-0.8 diameter wires and some soldering lead to make the wiring on the engine..
 .....the engine picture I got from the internet used as my reference....compare this to the engine model I scratchbuild below........
 .........I used 0.6-0.8 diameter wires and some soldering lead to make the wiring on the engine..
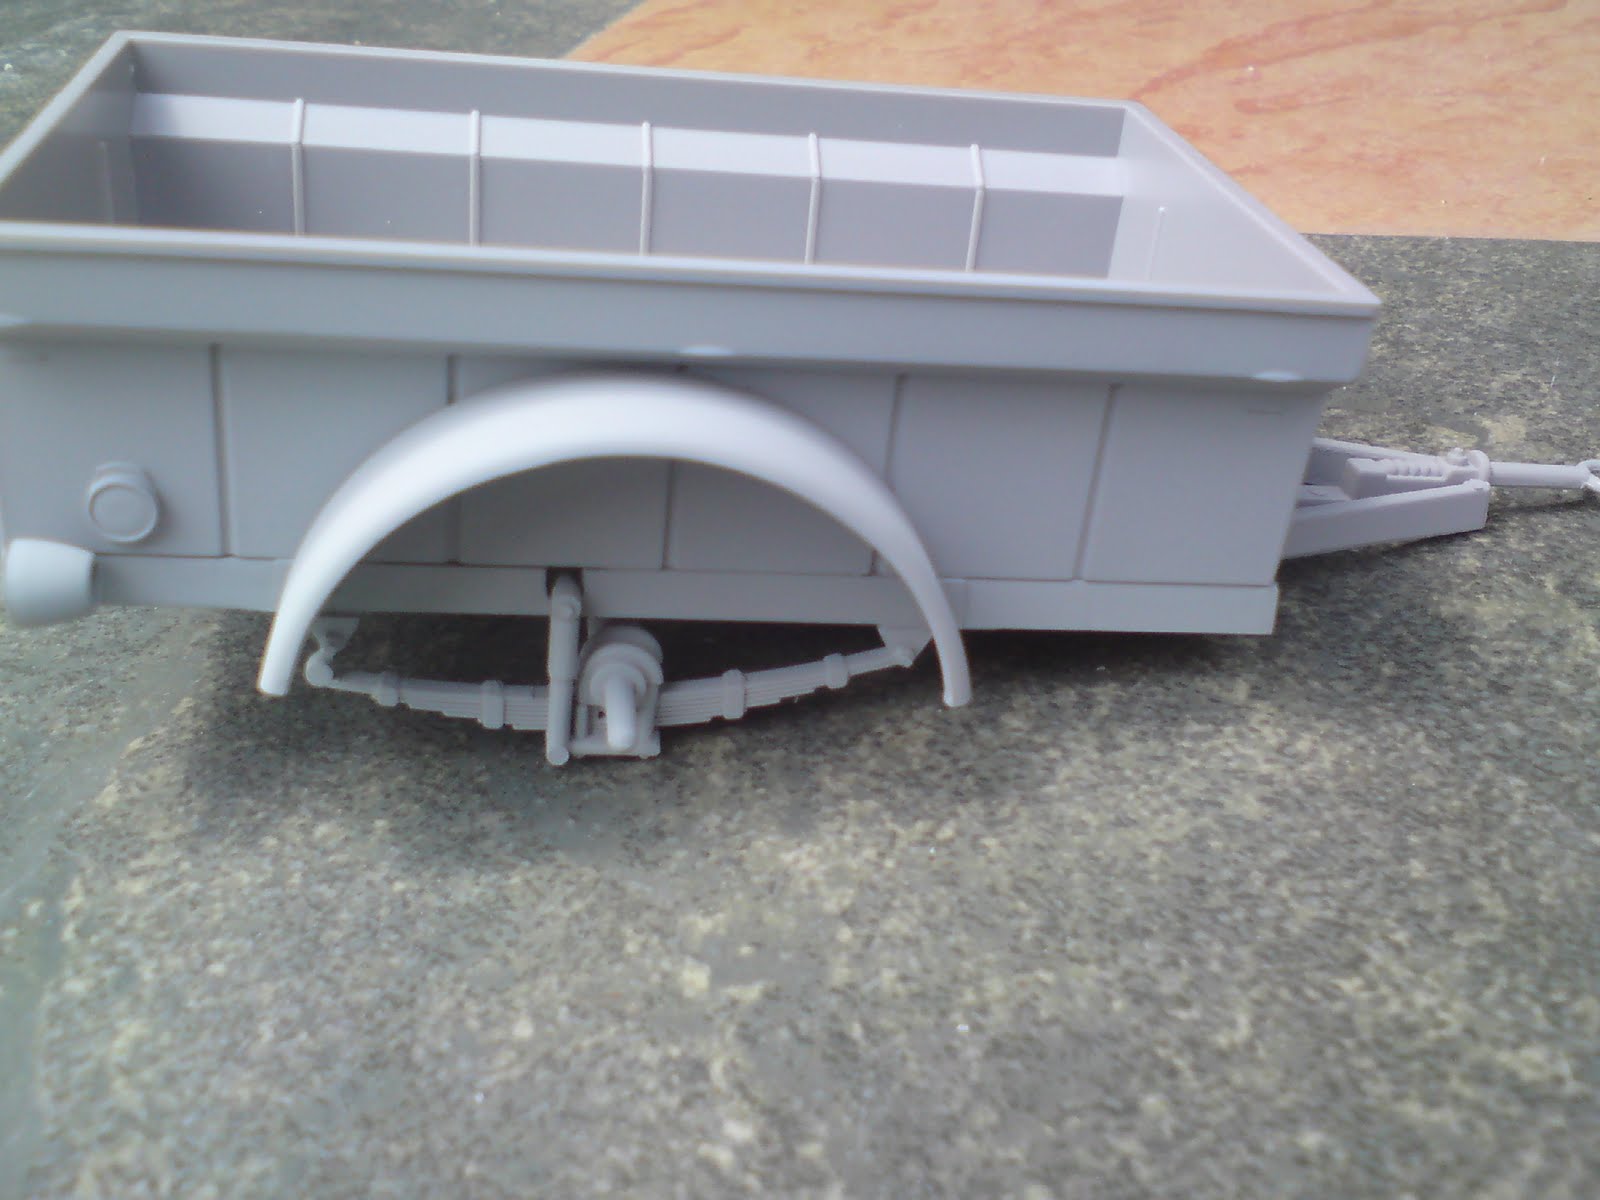 ....the trailer also being painted at the same time..........
 the headlights...to add realism, I insert aluminium foil in the headlights assembly...

Please contact me @ amobley@insightbb.com
ReplyDeleteI have the exact same model kit but I do not have the instructions or manual to complete my project.
I appreciate your help with this.
Is there any more of this Blog please let me know thank you
ReplyDeleteIt's always exciting to discover new terrain with my Jeep, and it becomes much better with the correct additions.
ReplyDeleteJeep Accessories
Thank You and I have a swell offer you: How Much House Renovation 1960 bungalow exterior makeover
ReplyDelete